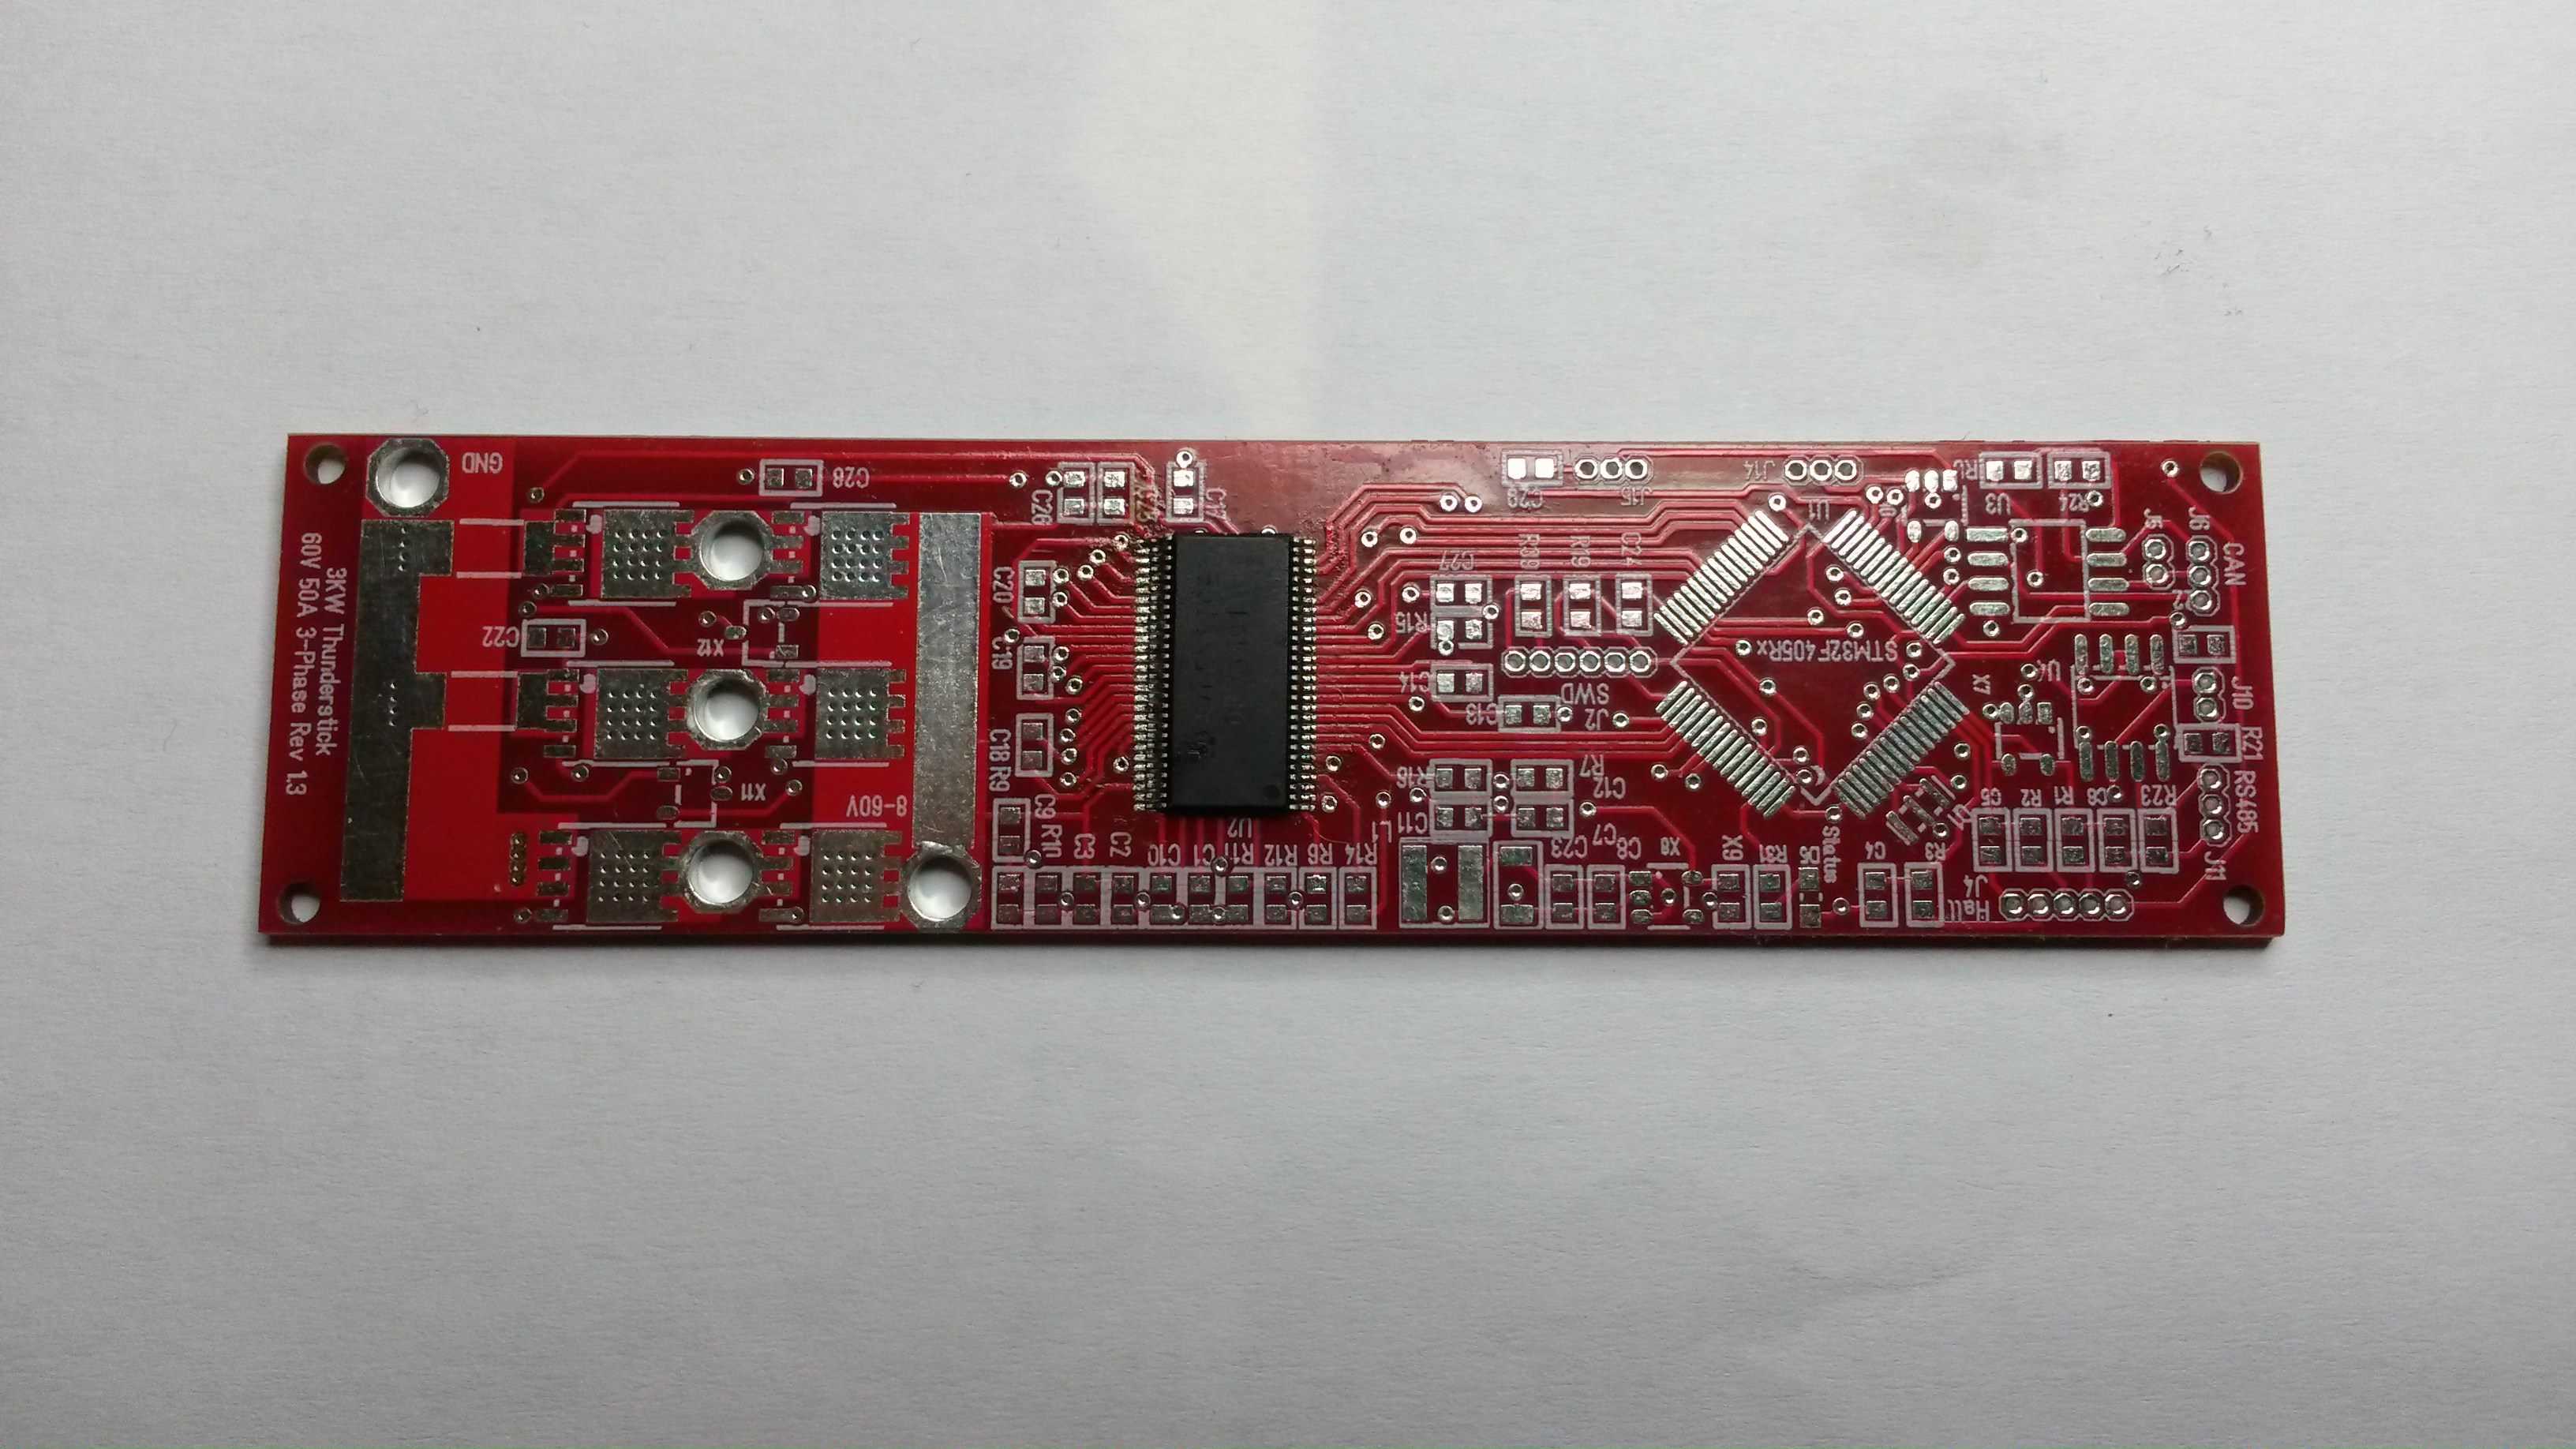
My Thunderstick PCB’s arrived some time ago, but it has been very hectic at work so I simply had no time to work on it. I also have a new 1kw motor that will be nice to test. The pictures above is the board with DRV8301 mounted. I have to start with this because I need the PSU from this to drive the MCU. This is a 8V to 60V driver, so it should work well at 12V,24V and 48V with a design target of 50A out.
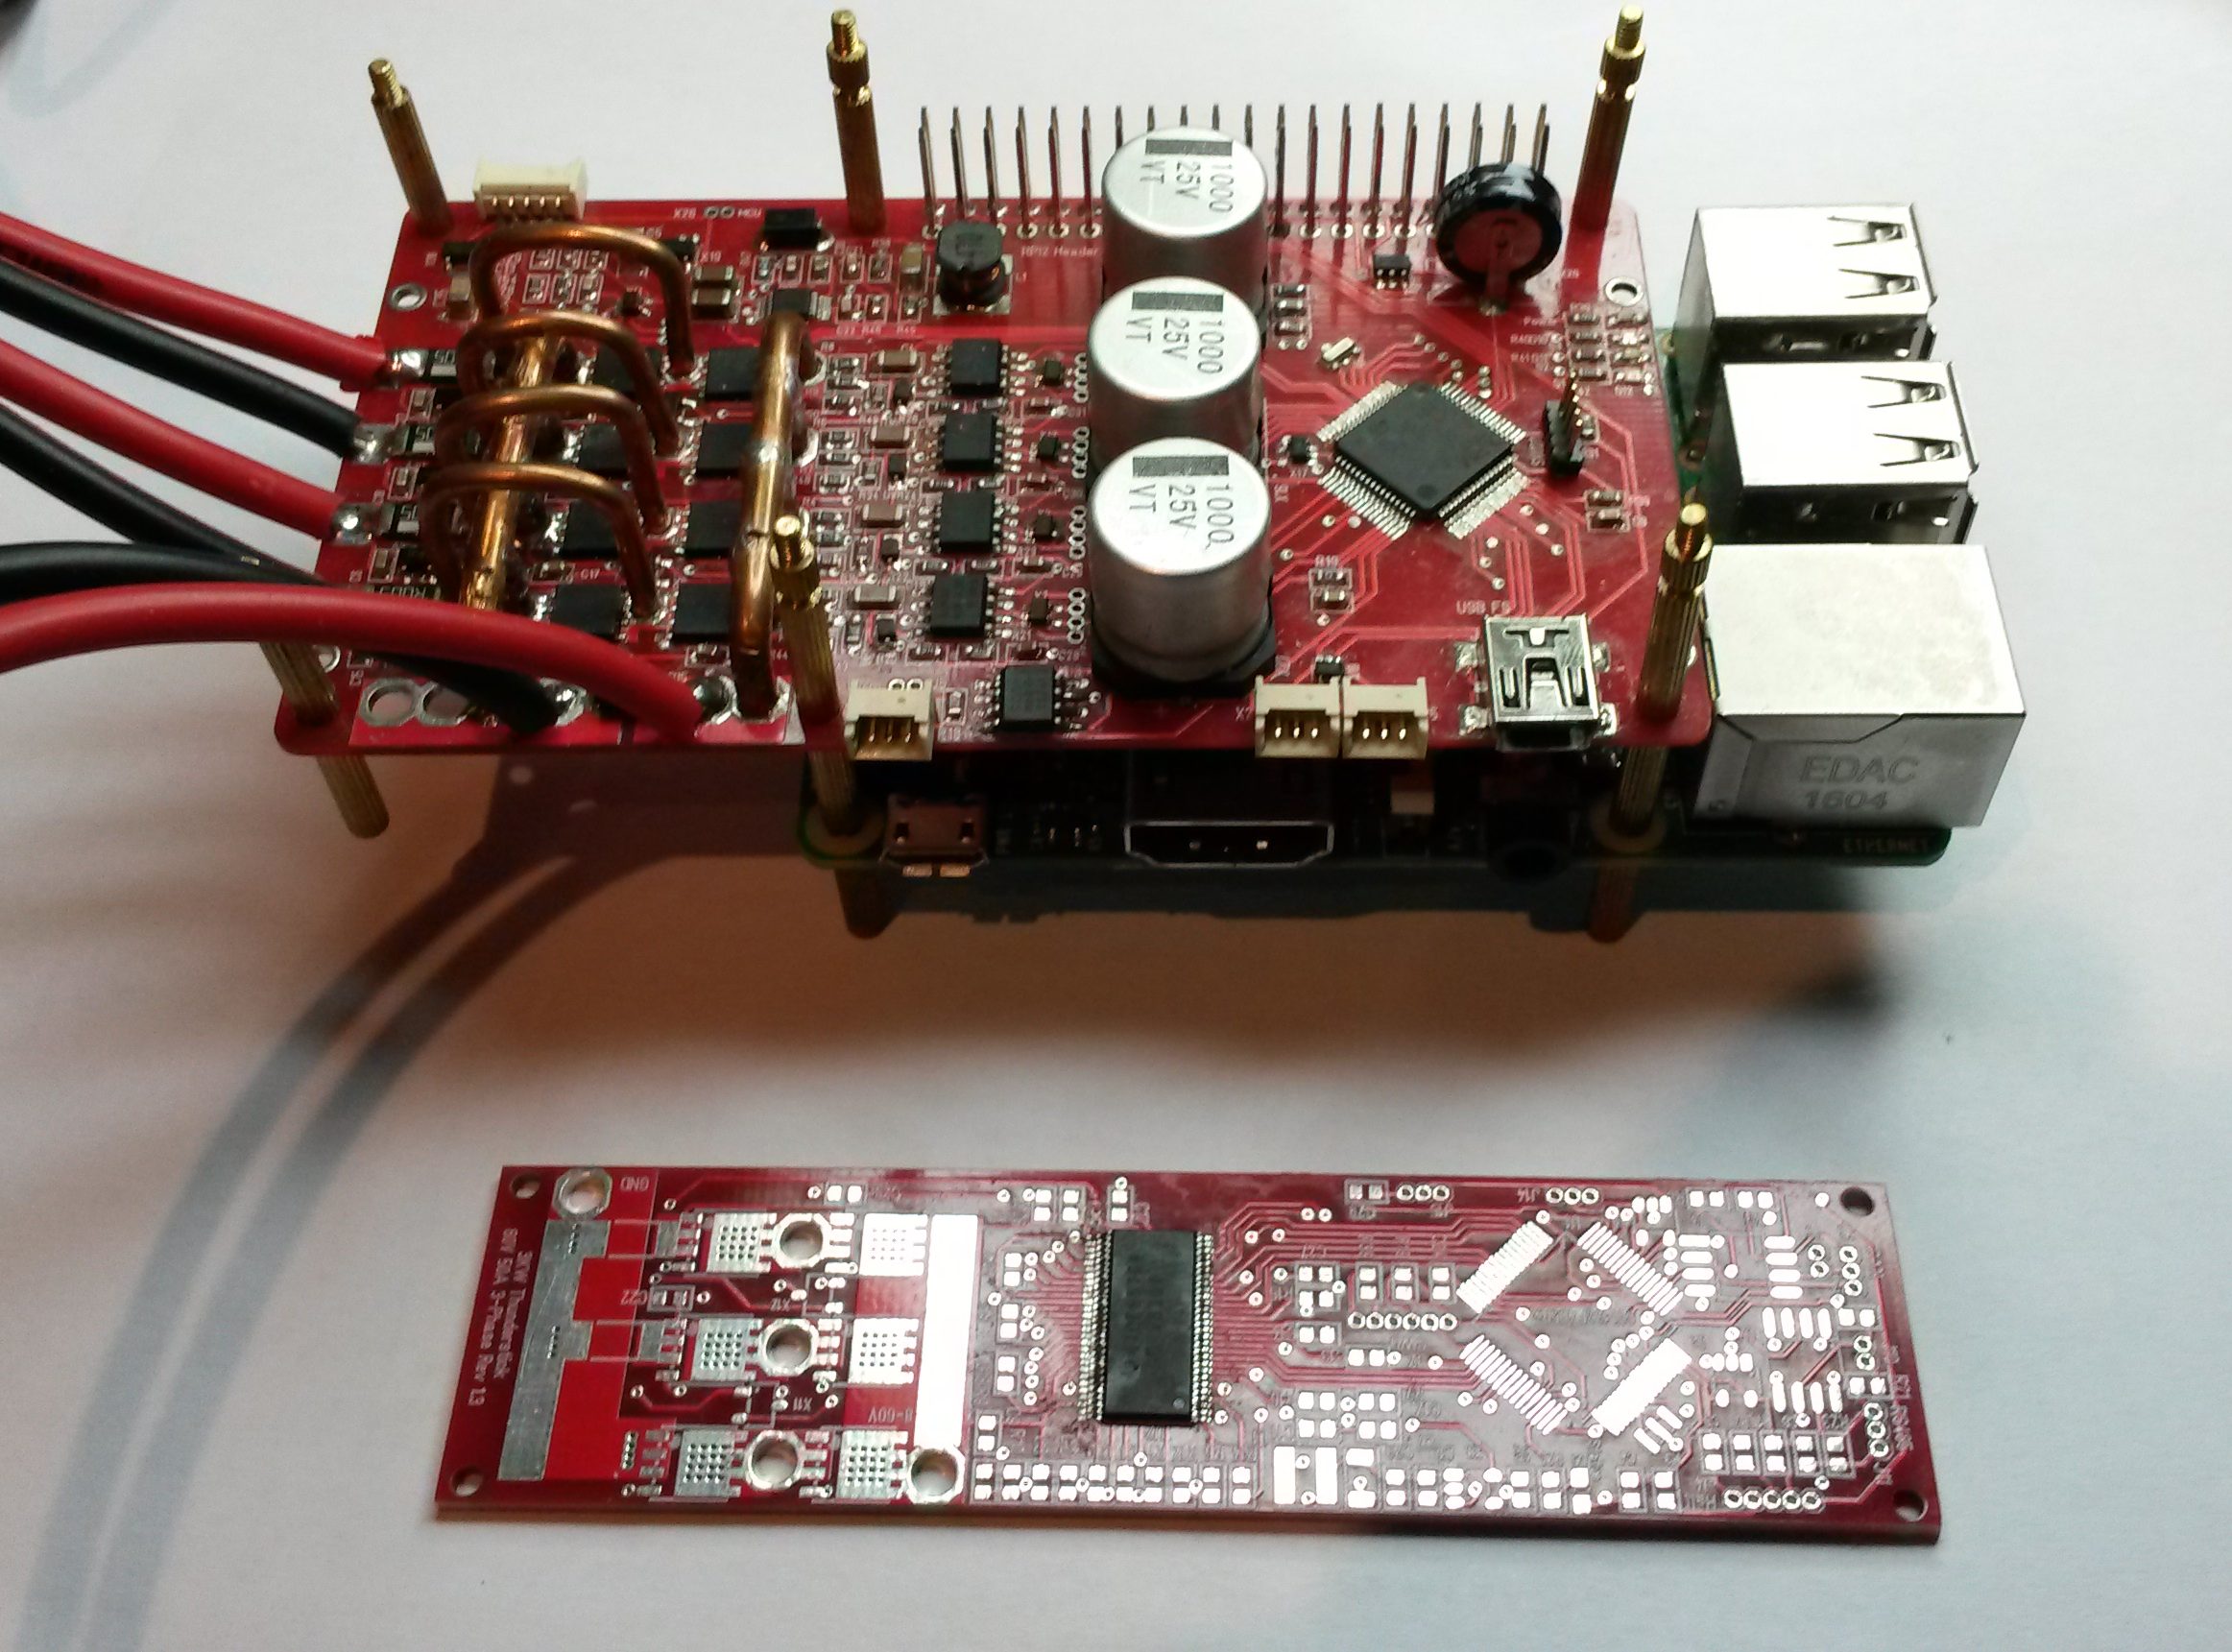
I almost ditched this board due to the more powerfully version in the back of this picture that serves 4 channels and have a Raspberry PI mounted, but looking at how small and neat the Thunderstick have become I admit that it is much nicer to use on drones with 3-phase motors. As mentioned before the larger board lacks motors to put it to justice as we speak. Also counting components the smaller have ca 60 while the larger have ca 160 components. I was actually tired after mounting the larger one.
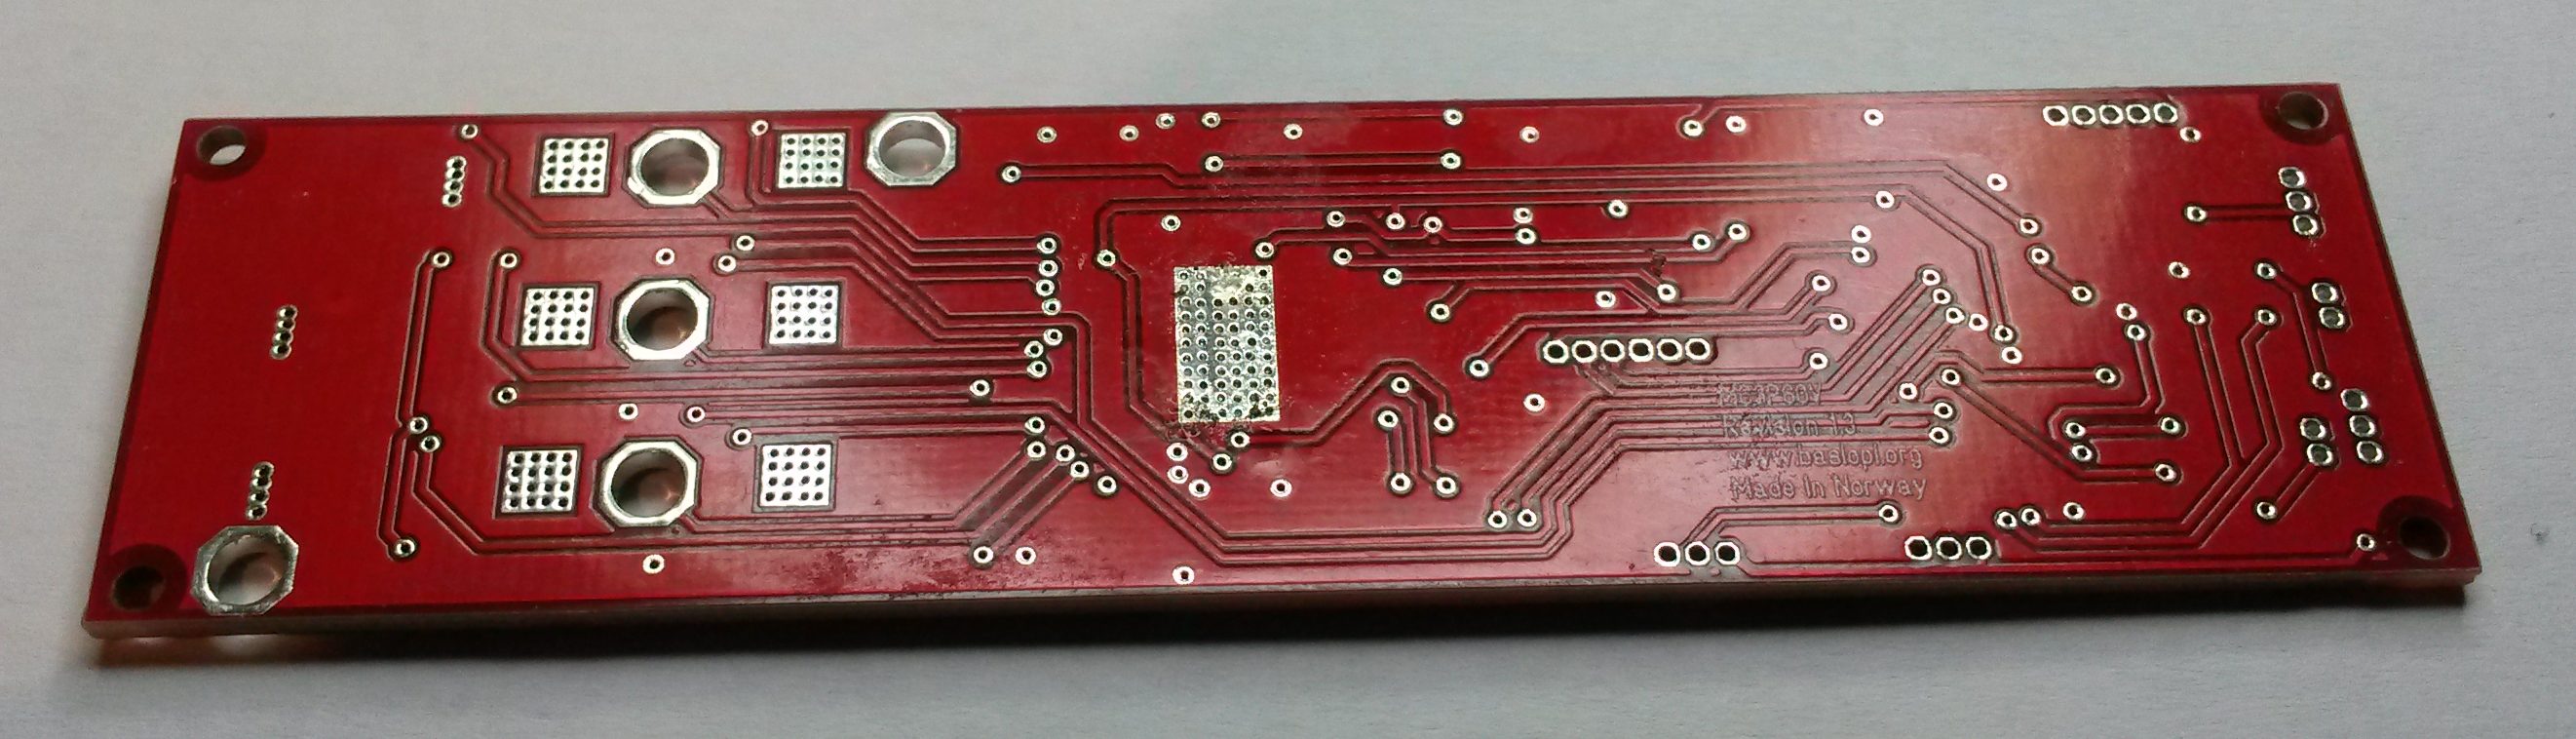 This shows the backside of the board with pads for MOSFET and DRV8301.
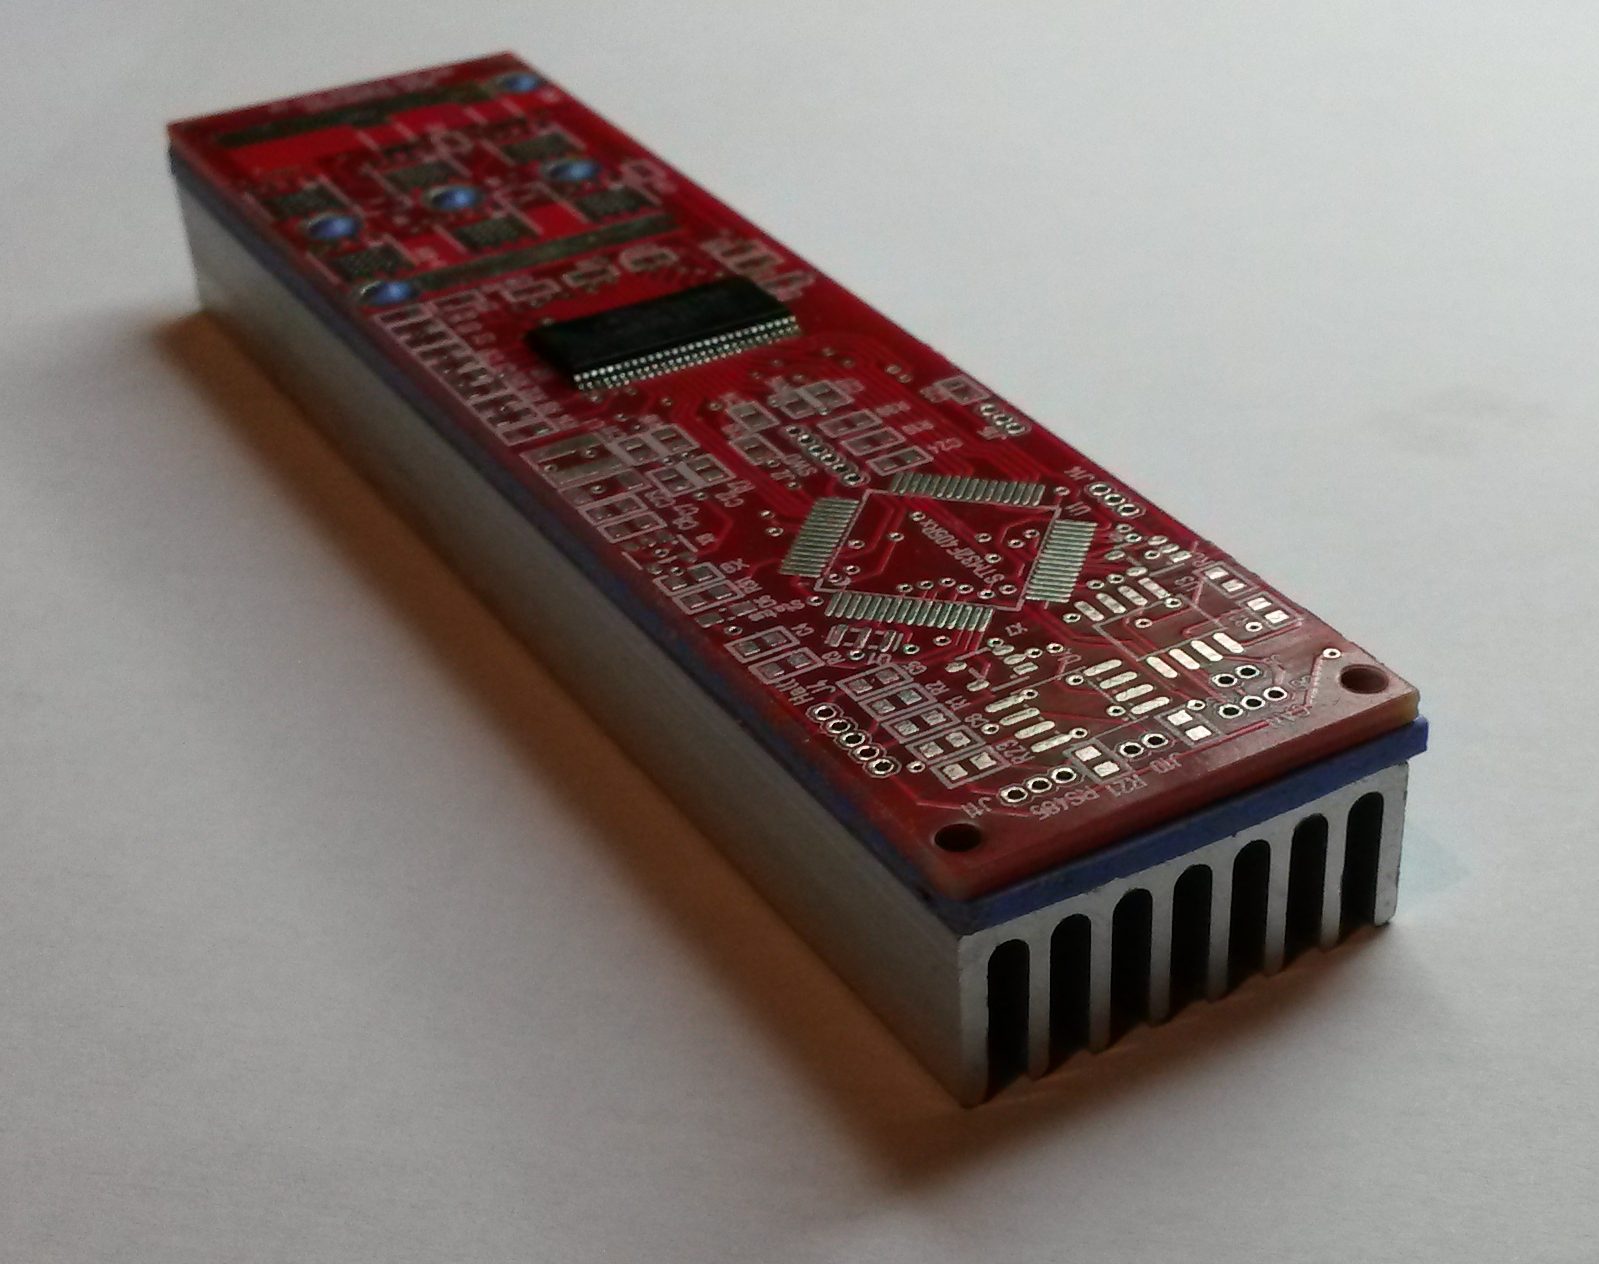
This shows the thermal 2mm rubber isolation and the heat-sink mounted. The idea is that we cool down the PCB and pads and as such cool down MOSFET and DRV8301. The design is expected to operate without heat-sink, but then it is the issue about theory and practice. It will be interesting to learn. I have not been able to do that on the larger board yet because I did a mistake not letting the MOSFET pads through so the MOSFET’s are on their own. I can test logic, but not power like that. On this I actually got 20 PCB’s so I will be burning some of them to do research on power lanes later.
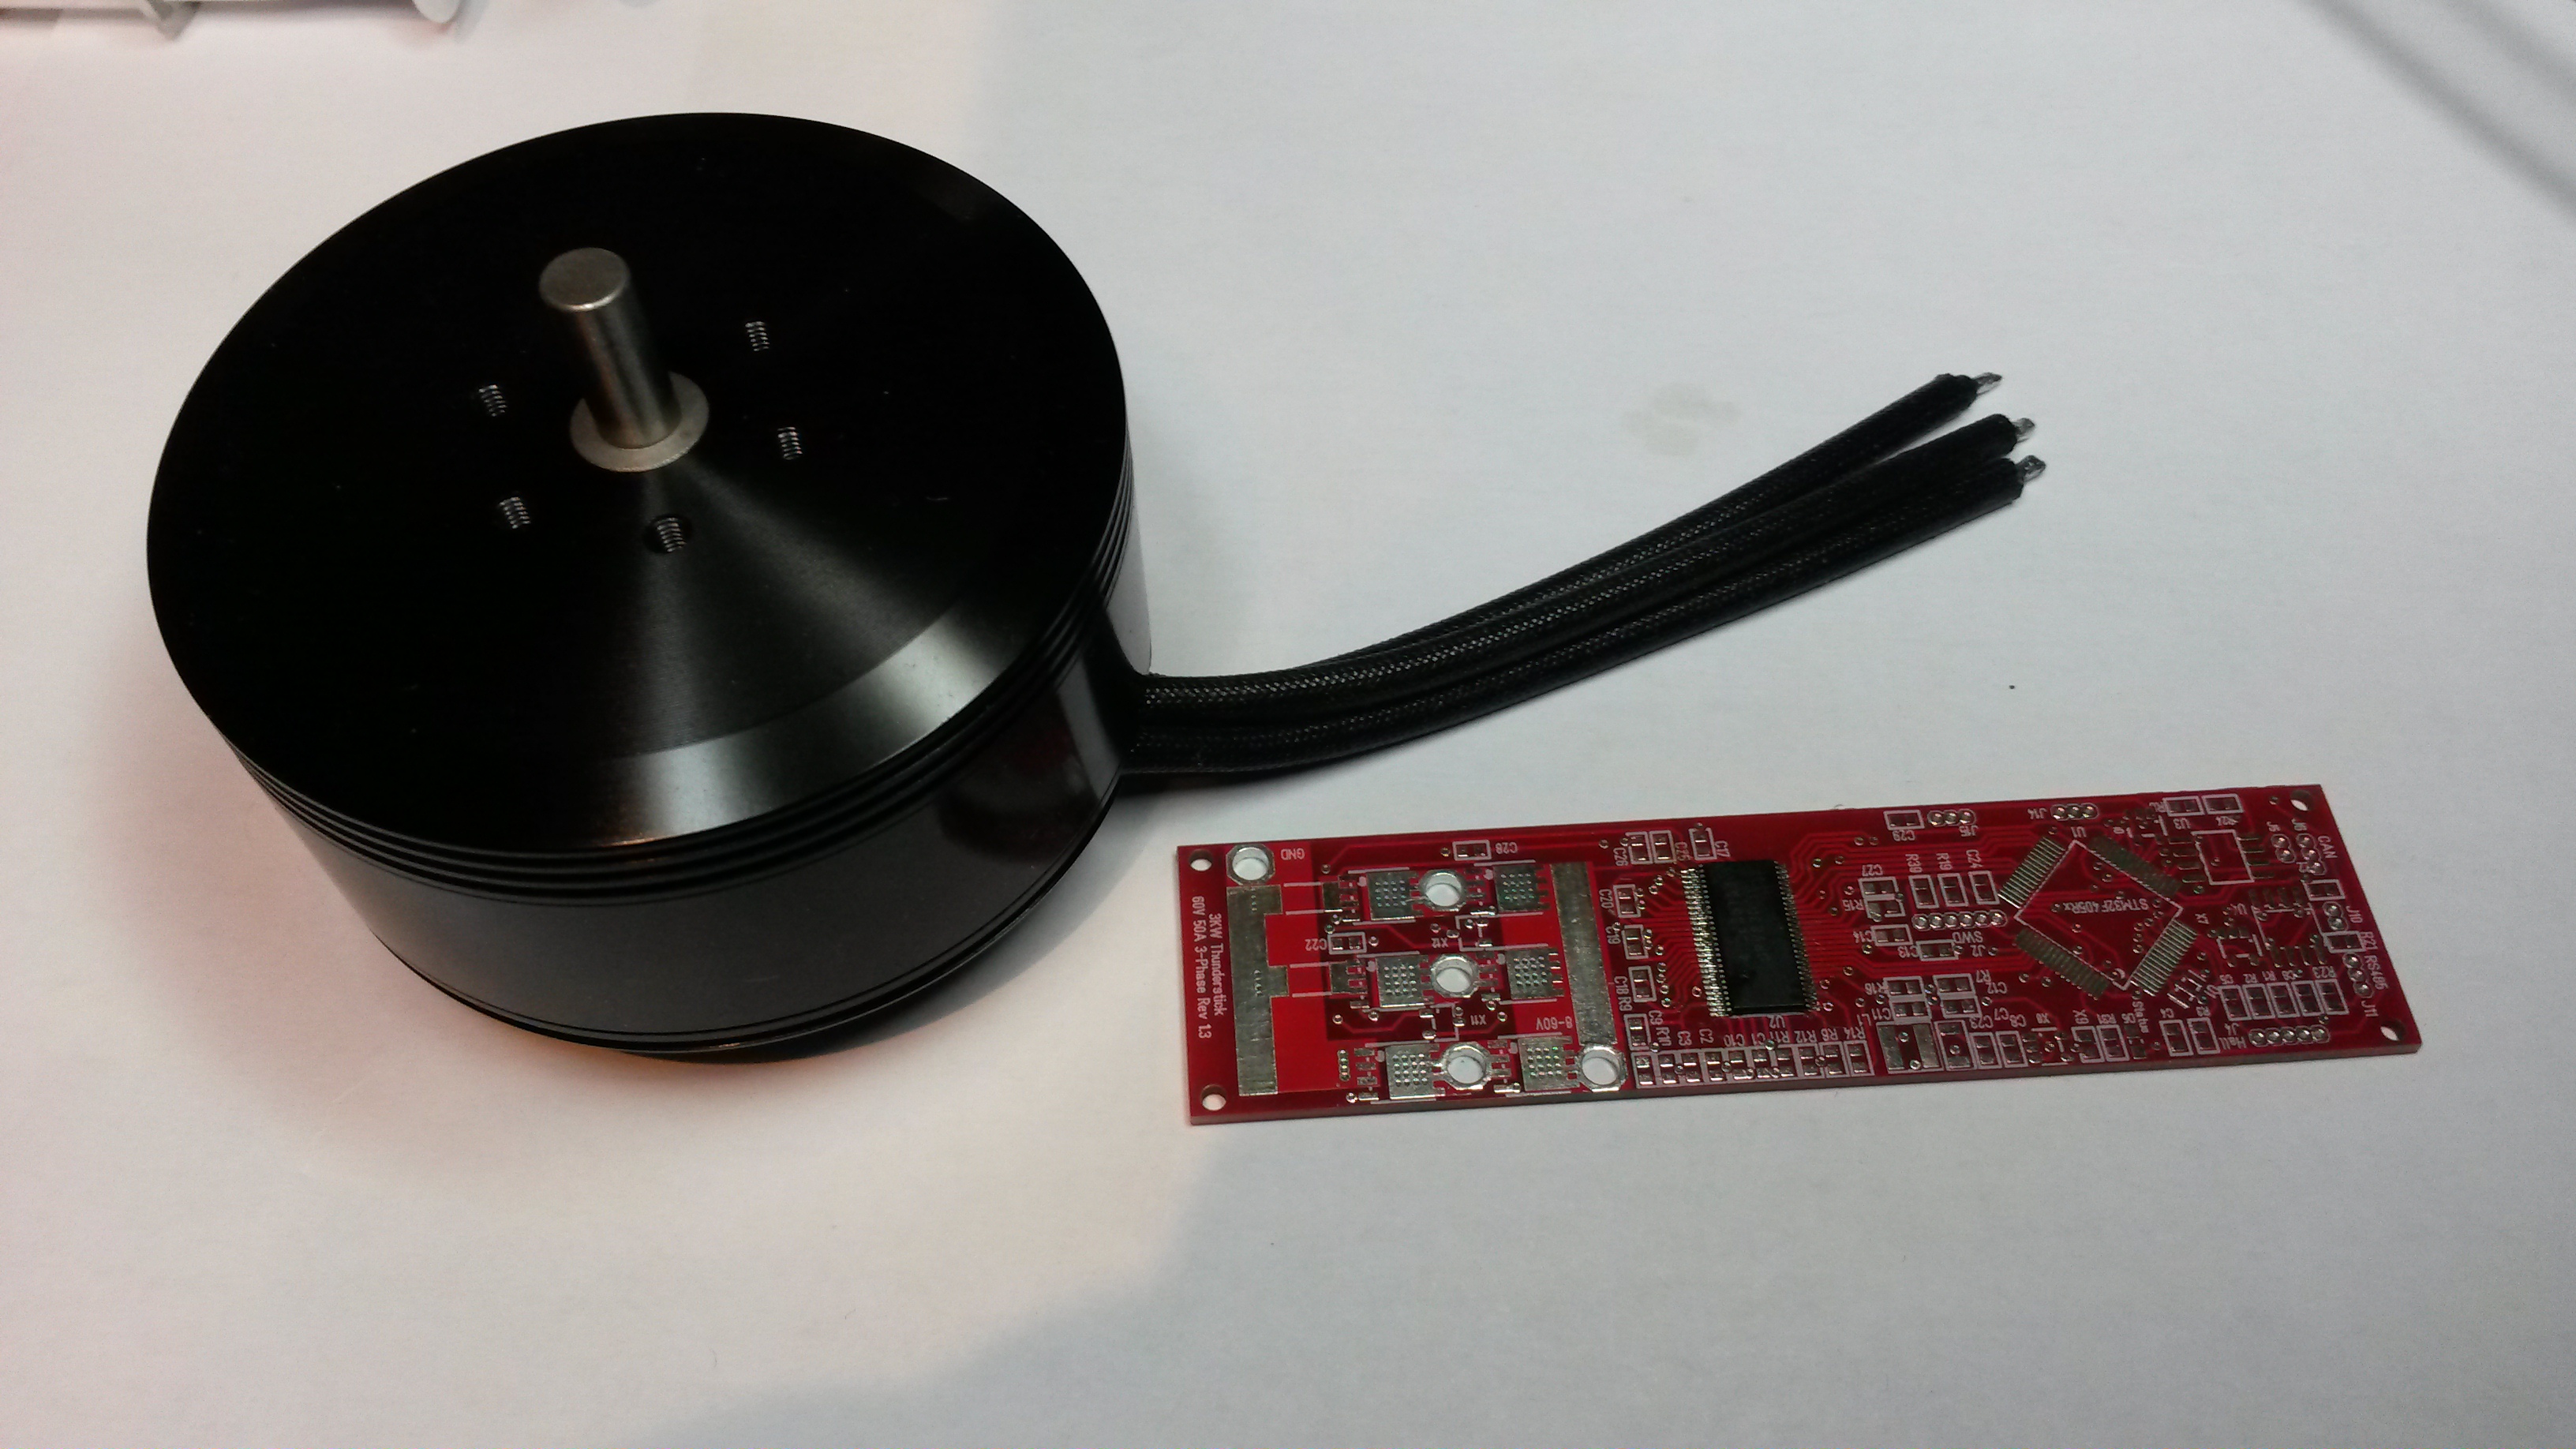
This last picture show the new 1KW drone motor I plan to use. The last motor was more powerfully, but it required a bit of mechanical mounting to use it. This can just stand on the table thought I will need some mounting as I start running in speed. 48V * 20A is 960W and I have a 50V 0-20A PSU (that I need to assemble) so I can actually support this test.