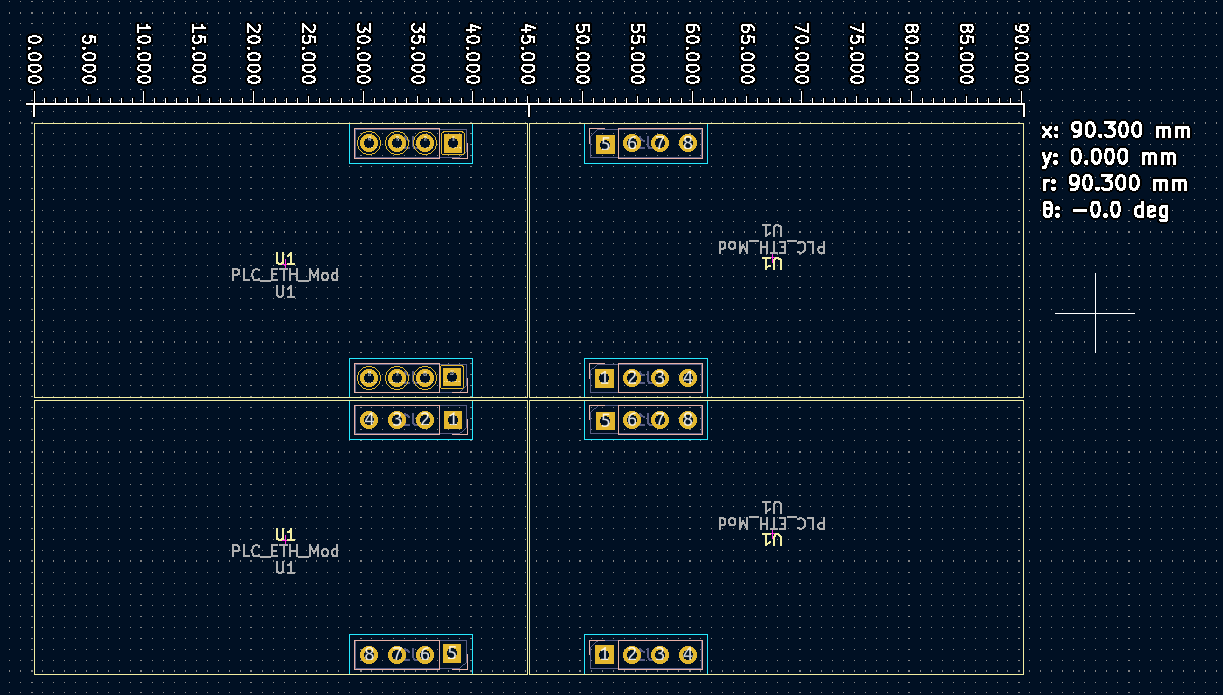
Before I order any of the PCB’s I also need to consider adjusting the size of the modules. I have ordered several standard project boxes that I will consider using, but I lack exact mechanical dimensions on them. And I have to figure out the mounting holes on the motherboard to the project boxes. The boxes I ordered are 90 mm width – hence the 45mm width per module. But, I probably need to reduce module width to 44 mm because 90 mm was outside the box + I need 0.x mm free space between modules as I mount them. The 25mm height was initially decided based on two criterias (1) I want the minimum module as small as possible, (2) I have ordered small project boxes that are 25x25mm size for two boards to go back to back. But, height is not so critical as width.
I have not adjusted this yet because without exact drilling holes and dimensions on the boxes I will need to redo this anyway. I also expect that I will need three PCB revisions – planing for less is just nonsence IMO. So, I will just order this modul “as is” and face the required adjustments later. Ordering PCB’s will cost me ca 20.- USD so it is more important to get going on testing so I get the prototype up running.
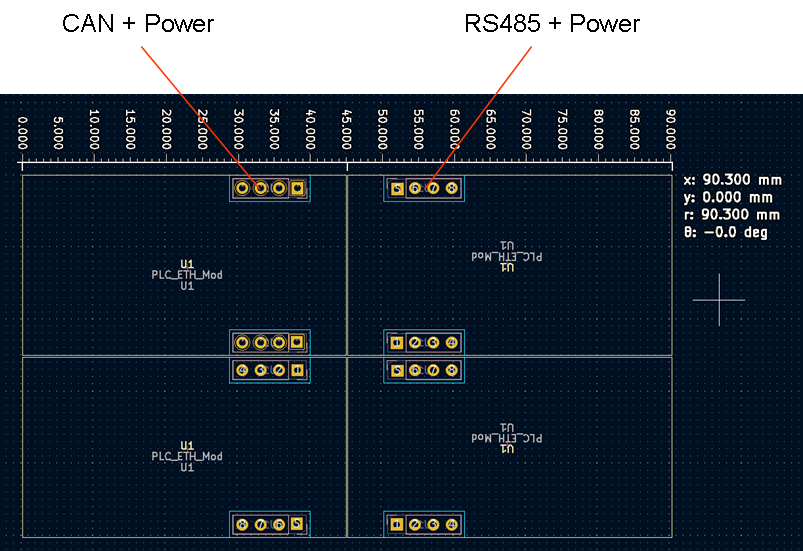
Notice that facing left I have CAN+Power on the top header and RS485 + Power on the bottom header, and facing right this is switched around. You can mount the module in any position and it will just work. I need to wak though the start-up sequence in SW and verify that I have what I need to make this work, but I think so.
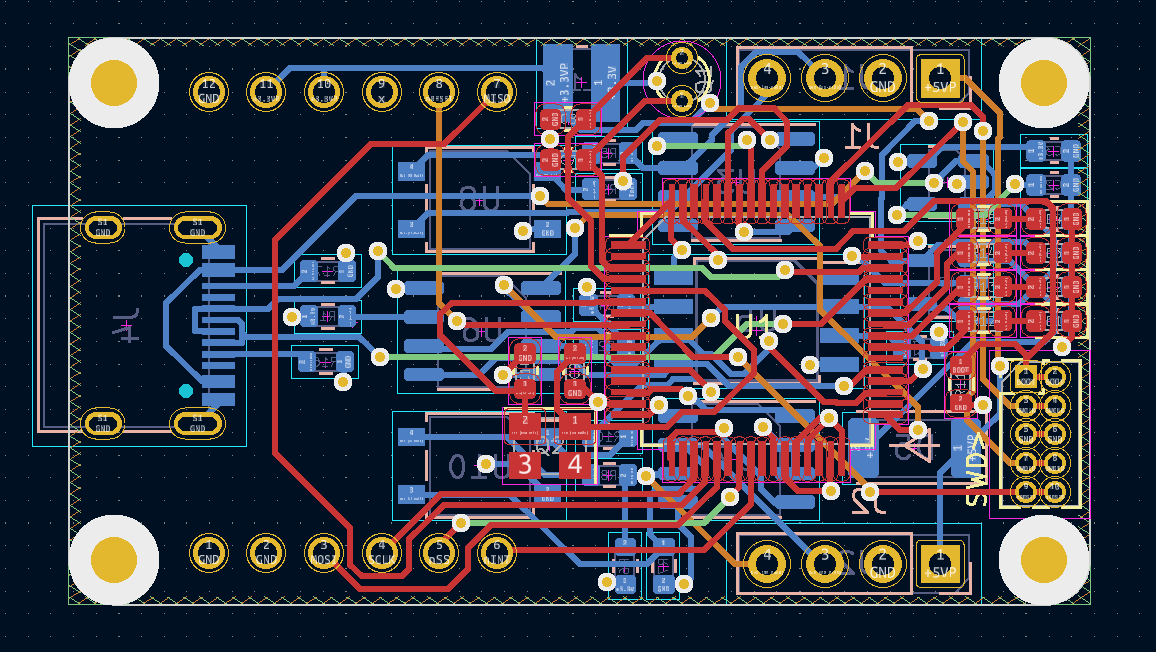
Looking at my Ethernet module you can see that it is easy to adjust 1 mm at the Width on left, but it is far more difficult to do the same on Height. I basically have to re-route the entire board Because I have 0,5mm space between the SOP8 components that I need to adjust in. And I need to use more of the backside in Width because routing and number of via’s are getting dense. The two headers, two resistors and 32Khz crystal must move in. If I need 2 mm then I can’t do it + I will struggle to get this module into 25×25 anyway because of the size of the J45.
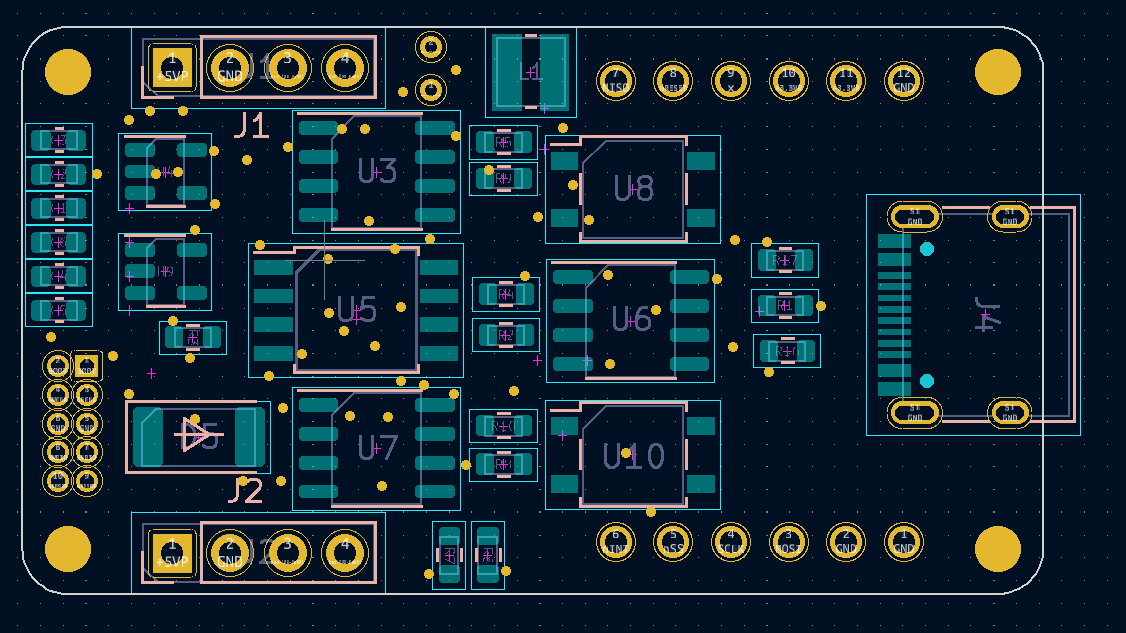
You see the issue more clearly on the back assembly view. What I can do is to swap U3,U5 and U7 with U8,U6 and U10 and mount them tighter as well as using more of the space towards J4, but that means starting from scratch on routing :(. TBH I should have considered these mechanical issues before I routed the first module, but I did not believe I would finish it this easy + I was not sure about what I could squeze in. You sometimes get fooled by how much space that passive components and tracks take up. All in all I am very happy with my first attempt on 4-layer PCB. In this case I also have 2 x 2.54 pitch headers and I often experience that they take more space than you expect.
Routing PCB’s I have discovered that what works best for me is to just get started and see how it goes – if I fail I restart – this is far faster than sitting around considering dit and dat for ages – far more fun as well :). Routing for me is like a little mind-puzle I can work on every morning and in spare moments – it is actually relaxing since I have no time pressure.
I did consider swapping out my SWD connector with 1×5 pin or a PCB/Cable solution. That cable costed ca 70.- USD so I ditched it and the reason I use 2×5 pin hole though has to do with stability. The only challenge I have with this format is that it sometimes is hard to see what direction to mount the SWD.
Don’t worry – this is the last you will hear about this Module for a few weeks – thanks for reading!