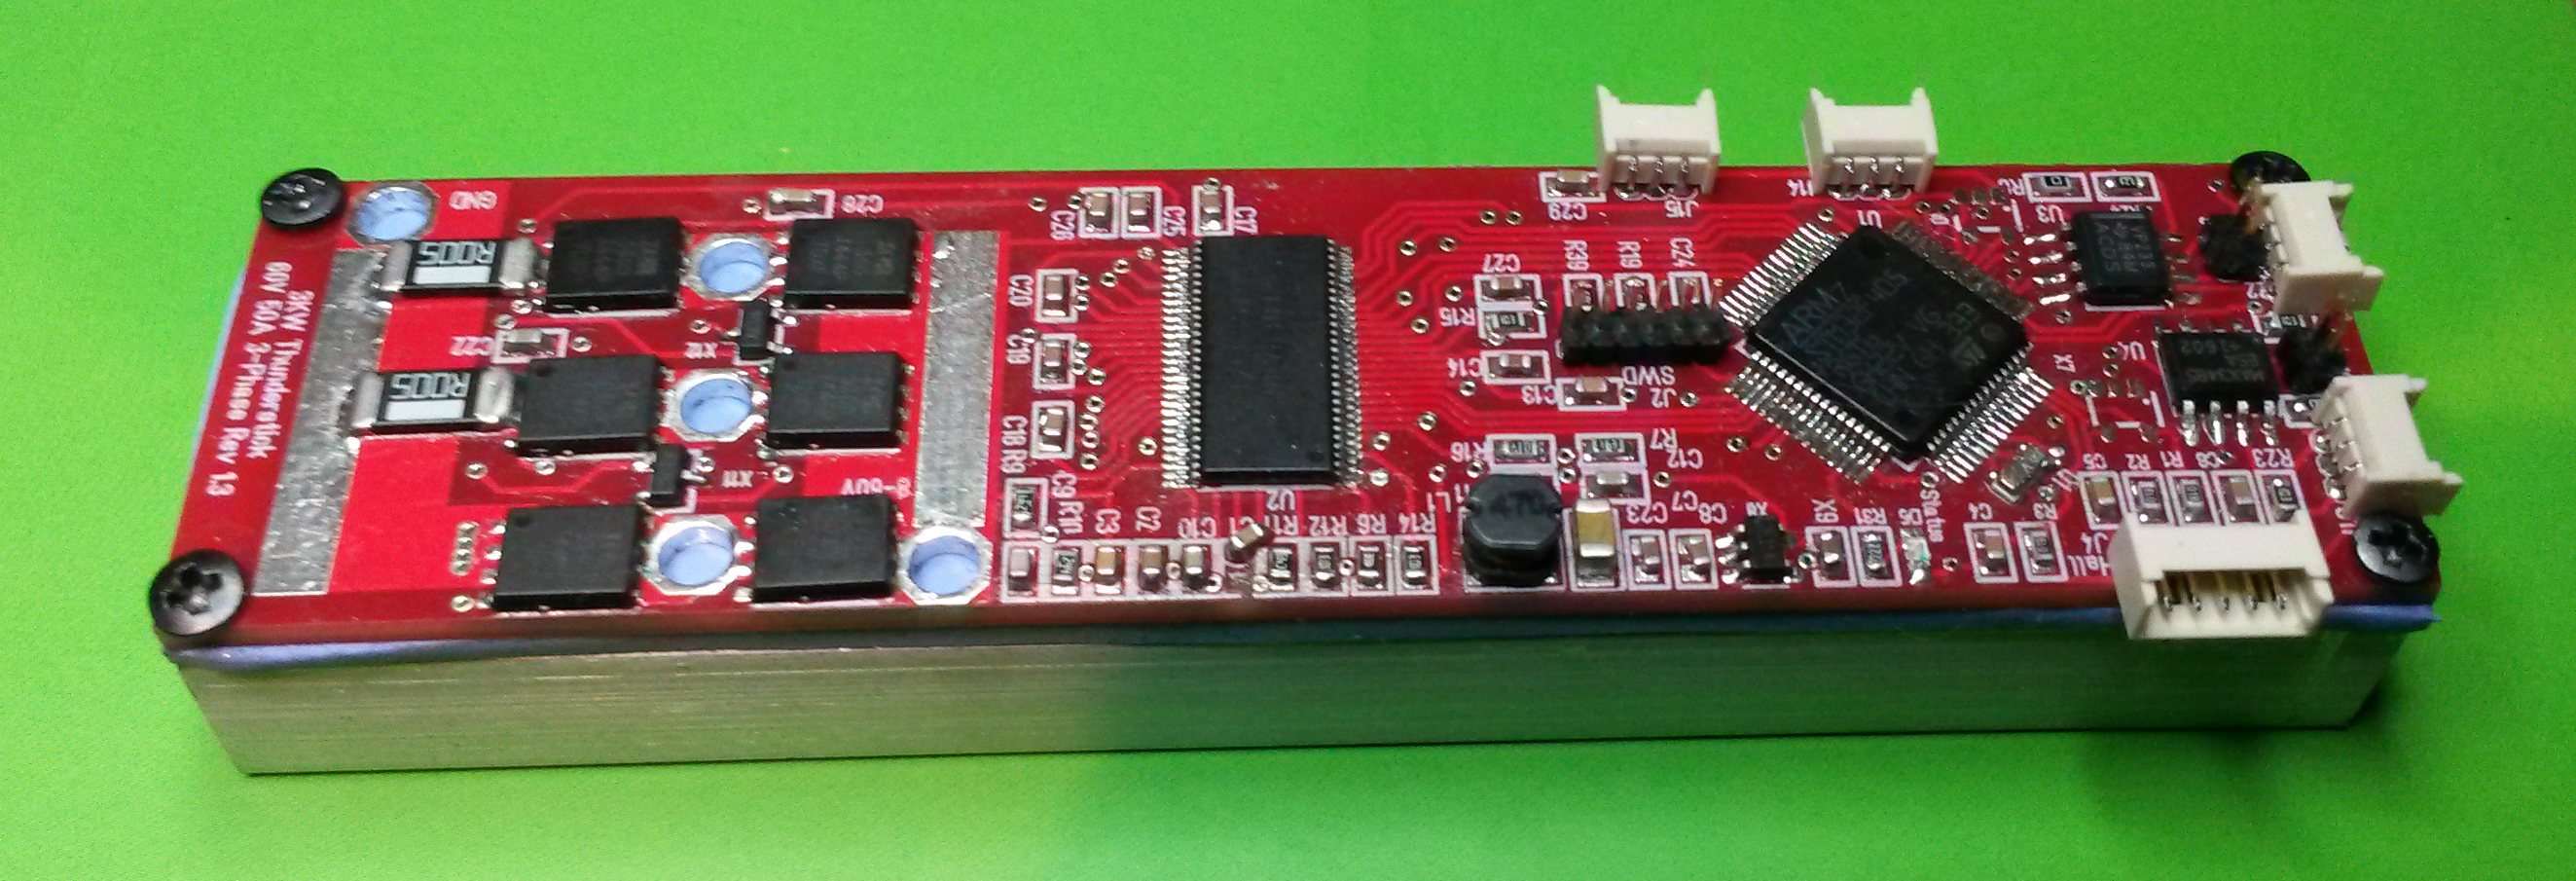
Finally mounted one unit, only lack capacitors and power wires and we can start spinning motors. I assembled 5mOhm shunts for now to experiment + I used 30V/100A MOSFET’s since I have few of the 60V and this should not be using 60V on this anyway. I will limit testing to 12V and 24V which is sufficient for now. Mounting the heat-sink was straight forward, so I am really pleased with this design so far. I need to be a bit creative as I mount the power cables and add the main capacitors.
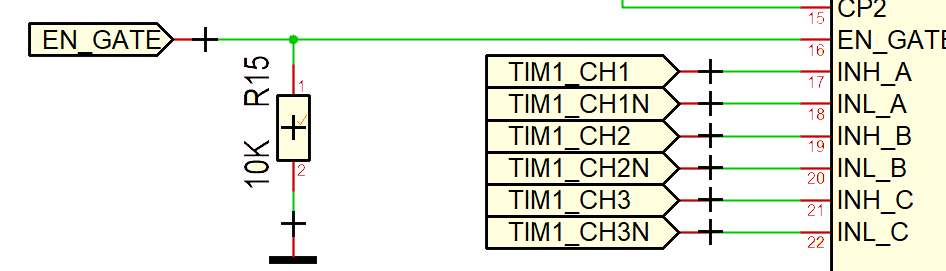 Since this is a motor controller I would usually power on without MOSFET’s (I actually have), but the schematics above show a very important detail – DRV8301 have a separate enable for the Gate Driver that is pulled to ground, so the driver bit will start in off position. Also – the driver have short-cut protection so we should be on safe ground to experiment. These details are very important on these types of design because otherwise you risk switching it on just to watch your MOSFET’s burn up – been there, done that!
I also like to point out that the reason I made this stick was to provide a low cost quality ESC for heavier drones. This got components on one side, easy to mount heat-sink etc so I will be excited to see what I can achieve in terms of power – for now my target is 24V@20A – which is 480W.