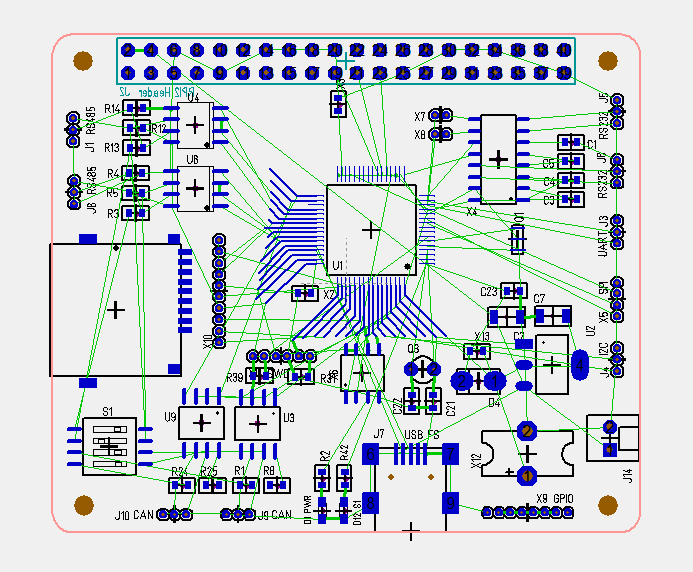
A bit different picture this time. This show the component layout and the green lines are the PCB lanes I need to make. I have added the package for the Micro SD Card holder, but I still only use 1.27 pitch headers for the Micro JST connectors. GPIO Header is not wired in schematics yet. The exercise here is to have as little crossing green lines as possible to make PCB layout smoother, but this starts to look promissing.
I added a 10 pin 1.27 connector for SD card. It gives me the option to use this as a 9 pin IO connector + the header make signals available on both sides.
I will start to upgrade my other RPI hat’s once this is done. I have a 32 port Servo controller + 8 port DC-motor controller, but I also want to move on with a 7 port stepper/PWM controller. Have them all as RPI-Hat’s, stand-alone USB or CANbus plug-in’s.
I want to use STM32F405RG, but as you know this can also use STM32F105RB by just replacing 2 capacitors with 0R. F405 and USB means this becomes very available for Python programmers etc.
I am not sure about the SWD connector. I have replaced the 2×5 pin with a 1×6 pin. The 6th pin is 3.3V. I tried using JST Micro connector as SWD and it worked, but I must admit that is much easier to plug in a adapter board on a header. The JST connectors are hard to mount and remove again + wiring on a SWD is a bit critical.